Making a Thumbhole FT Stock Part IUntil July 2009, I worked for a national tool importer and retailer, Busy Bee Tools. My position in the company meant that part of my job was to work 2 or 3 Woodworking and Tool shows each year.
At the Edmonton show in 2007, I did a deal with a guy from BC who sold larger pieces of exotic wood. This deal sent me home with 2 nice lumps of Walnut, one dark and one light, both of which were “rough sawn” and looked about the size needed to fashion a rifle stock.
A couple of months ago I came across a guy in the UK who was willing to part with his Ripley AR5s. The only problem for me was that the rifle action was fitted in a Sporter type stock and I particularly wanted to use the rifle for Field Target shooting.
Time to put one of the aforementioned chunks of Walnut to use but, which piece to use?
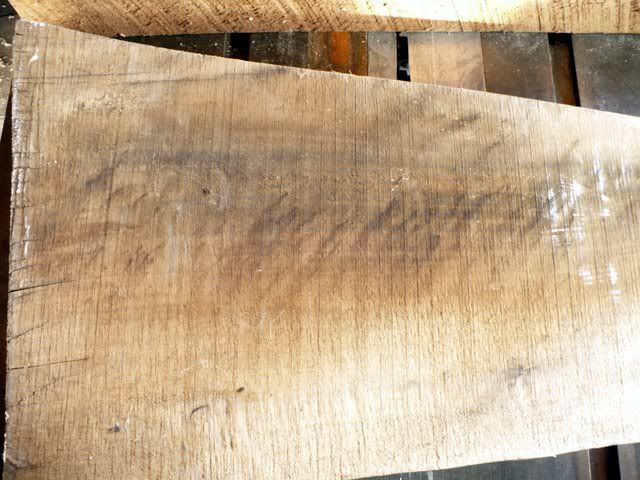
The first thing to do with both pieces of wood was to smooth them and get a look at the grain. This exercise was carried out with the help of a 13” Thickness Planer. For those that don’t know, a thickness planer will help to dimension a piece of timber to a uniform thickness whilst also leaving a reasonably smooth finish on the wood.
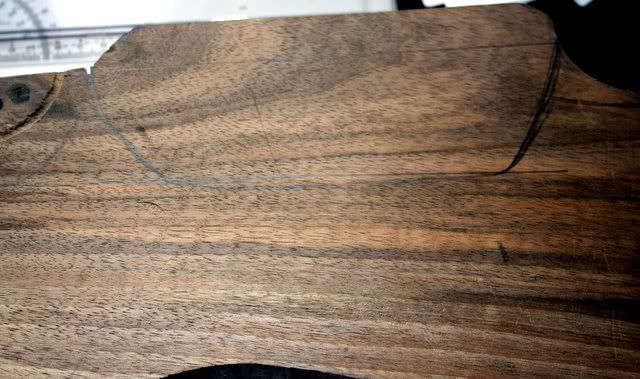
Here are the 2 pieces of timber after a couple of passes thru the Thickness Planer. Both pieces finished up at approximately 2 ½” thick.
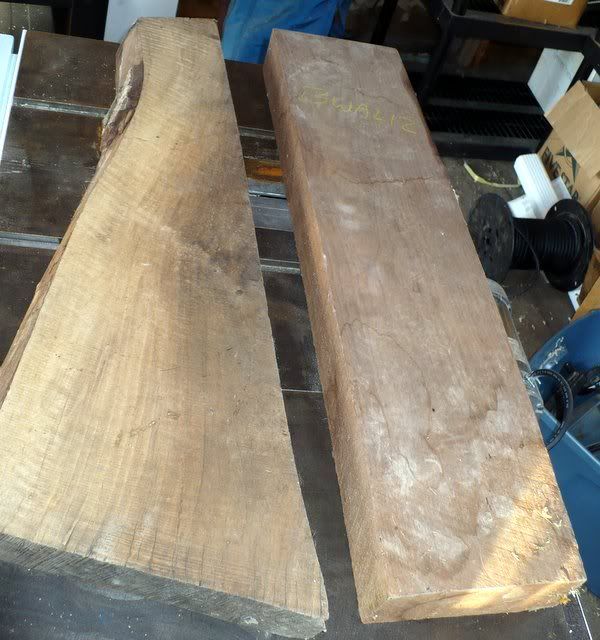
I plumbed for the lighter of the two pieces as I felt it had the best figuring and grain.
Time for some research on the “World Wide Interweb” as my mum called it. There are literally hundreds of pictures and ideas to be had if you look.
I already had a couple of pieces of hardware that I have collected over the years. Firstly were an adjustable cheek piece mechanism from an Air Arms Pro Target I owned in 2000 and an Anschutz Butt Hook mechanism I picked up in 2002. I would still need to acquire an adjustable Butt Plate mechanism and some way of adjusting the Hamster mechanism.
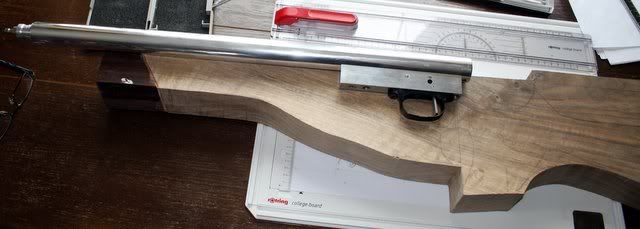
So, now is the time to do some layout work. Luckily I had the sporter stock that I could measure so I had an idea of what the Inletting would look like for the action. I started by simply measuring and drawing a mock up of the action taking careful note of the critical measurements. These are the measurements that allow for little or no margin for error i.e Trigger position relative to the air cylinder etc.
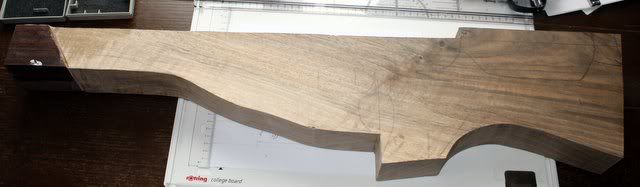
Now it was time to take a saw to the blank and have a little fun. Ideally I would have done my rough cutting out on a Bandsaw however, I don’t possess such a beast so it was time for a little improvisation. I called upon my trusty Jigsaw.
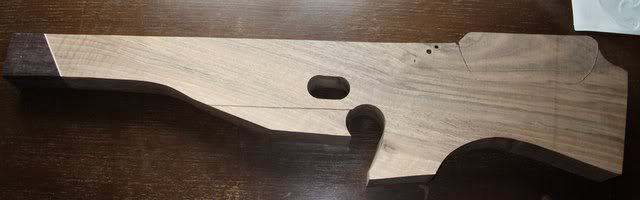
As you can see, the operation went relatively smoothly. I make sure I left plenty of material for an elevated cheekpiece as I knew that the scope that would eventually be fitted to the rifle would have a large objective lens and would therefore need to be lifted on High or X high scope Rings.
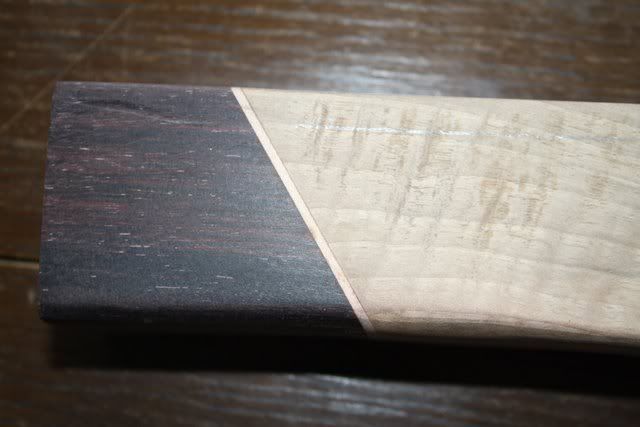
I had also decided that the new stock would be fitted with Rosewood cappings to both the forend and the pistol grip. I set my Radial Arm saw to 30 degrees and lopped a couple of inches off the end of the blank . While the R/A saw was still set I took the opportunity to cut the same angle on a foot long piece of 3” x 3” rosewood I had and I glued that to a nice piece of maple that I also had lying around the shop.
Here you can see the End cap glued into place.
Time to lay the newly arrived action on top of the wood and do some more rough marking out for trigger location and the Cheekpiece.
This is after a couple of holes had been cut using various size hole cutters.
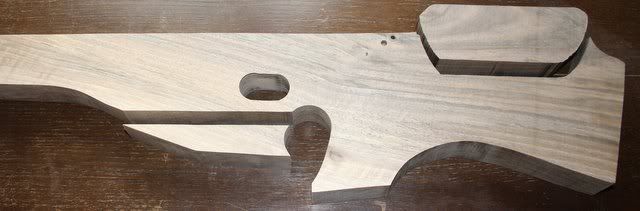
This next session with a saw had to be done on a Bandsaw as nothing else would do the same job and give the same results. Here you see both the cheekpiece and the hamster have been separated from the main stock.
That's enough for now. In Part 2, I will be doing the layout and removing the wood to facilitate the action.
Cheers
Dave